

Key Takeaways
- Review your policy before filing so you understand your deductible, covered perils, and exclusions.
- Thorough documentation — photos, receipts, written records — is the foundation of a strong claim.
- Prompt notification to your insurer is required by most policies; delays can create complications.
- An adjuster evaluates your loss and determines how much the insurer will pay under the policy terms.
- You have the right to ask questions, dispute a decision, and request a re-evaluation if you disagree.
Start here
Before You File: Know What You're Working With
Next
Step 1 — Document the Loss
Then
Step 2 — Notify Your Insurer
Going deeper
Step 3 — Work Through the Adjustment Process
Final step
Step 4 — Receive a Decision and Respond
Before You File: Know What You're Working With
Filing an insurance claim for the first time can feel uncertain — but the process follows a predictable structure once you understand the basics. If you haven't yet reviewed how coverage works in general, the foundational coverage guide is a good starting point.
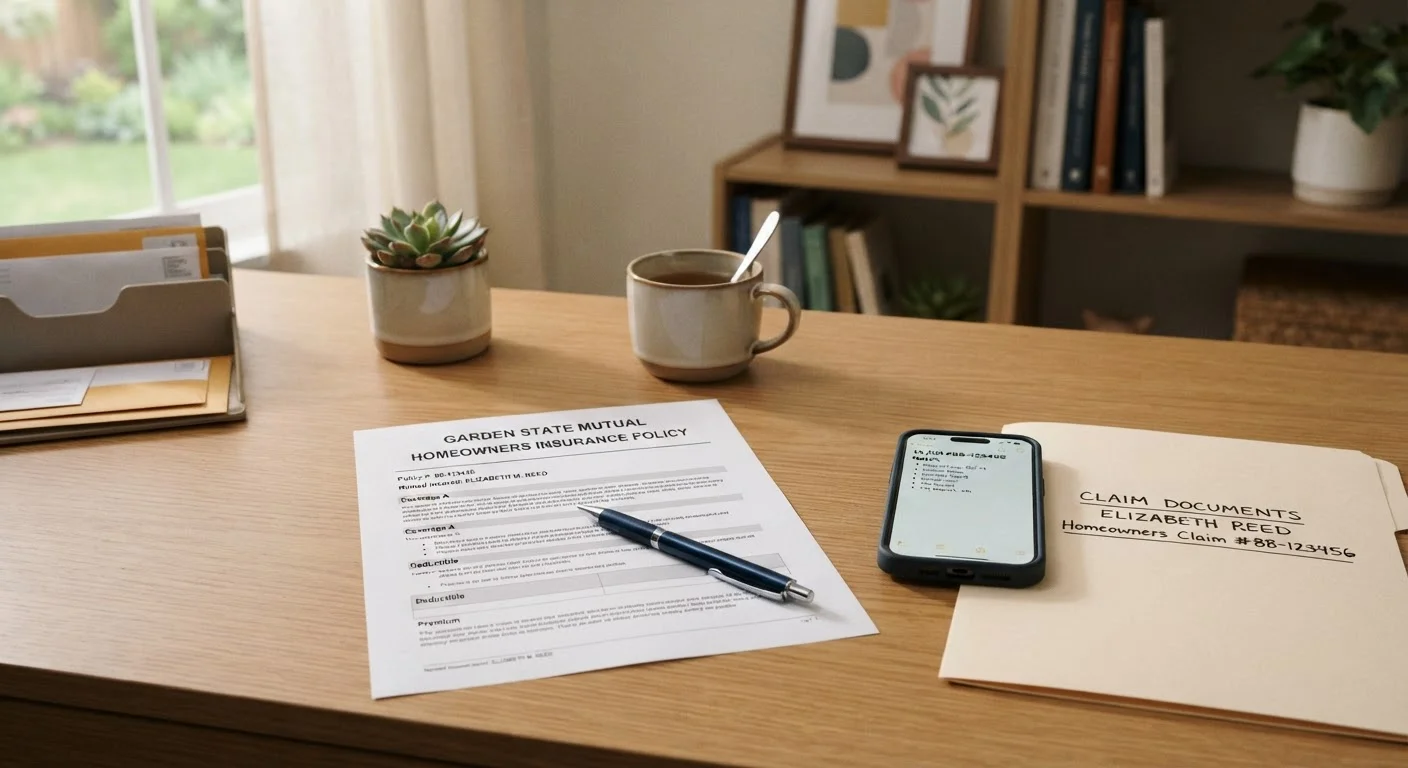
Before you pick up the phone or open a claims portal, pull out your policy and locate two things: your declarations page (the summary showing your coverage limits and deductible) and the "duties after loss" section (the part that tells you exactly what you're required to do and when). Understanding these before you call puts you in a much stronger position.
Deductible
The fixed amount you pay out of pocket toward a covered loss before your insurer pays the remainder. A $1,000 deductible means you absorb the first $1,000 of any claim.
Declarations Page
A one- or two-page summary at the front of your policy that lists your name, covered property, coverage limits, deductible, and premium. It's your policy's quick-reference sheet.
Covered Peril
A specific cause of loss — such as fire, theft, or windstorm — that your policy explicitly agrees to cover. Losses caused by perils not listed are generally excluded.
Adjuster
A person authorized to investigate and evaluate an insurance claim on behalf of an insurer (or, in the case of a public adjuster, on behalf of you as the policyholder).
Claim Determination
The insurer's formal decision about whether your claim is covered, and if so, how much they will pay based on the policy terms and the adjuster's findings.
Proof of Loss
A formal written statement, sometimes required by your policy, that details the nature and value of your loss. It serves as an official record submitted to the insurer.
Also consider whether filing makes sense at all. If the loss is minor and close to your deductible, paying out of pocket may be worth weighing before you proceed.
Step 1 — Document the Loss
Documentation is the single most important thing you can do immediately after an incident. Insurers base their decisions on evidence, and gaps in your record can result in lower settlements or disputes.
- Photograph and video everything — damage, the surrounding area, any relevant context — before anything is moved or repaired.
- Write a factual account of what happened: date, time, sequence of events, and any witnesses.
- Preserve receipts and records for any property involved, and collect repair estimates as soon as practical.
- For auto accidents, also gather the other driver's insurance information, license plate, and a copy of the police report if one was filed.
The full guide to documenting a loss covers exactly what to record and how to preserve it effectively.
Don't Wait to Document
The best time to photograph damage is immediately after an incident, before anything is cleaned up, moved, or repaired. Even a smartphone camera provides sufficient detail for most claims. Create a dedicated folder — digital or physical — where every photo, receipt, and note related to the loss lives in one place.
Step 2 — Notify Your Insurer
Once you've documented the situation, contact your insurer to report the loss. Most companies offer multiple channels: phone, mobile app, or online portal. Use whichever method creates a clear record — and note the date, time, and name of any representative you speak with.
When you report, you'll typically provide:
- Your policy number and contact information
- A description of what happened and when
- The type and extent of the loss as you currently understand it
- Any relevant reference numbers (police report, incident number)
The insurer will assign your claim a reference number. Keep this number in a dedicated folder along with all other claim-related documents. Good communication habits throughout the process — not just at the start — can significantly affect how smoothly things progress. See communication habits that keep claims on track for practical guidance.
What 'Prompt Notice' Actually Means
Most policies require you to notify your insurer of a loss "as soon as practicable" or within a specific number of days. What counts as prompt varies by policy and state regulation. When in doubt, notify sooner rather than later — late reporting is one of the more common reasons insurers complicate or question a claim's validity.
Step 3 — Work Through the Adjustment Process
After you file, an adjuster will be assigned to your claim. Their job is to investigate the loss, review your documentation, and determine what the insurer owes under the policy terms. This may involve an in-person inspection, a virtual review, or both.
During this phase:
- Respond promptly to requests for information or additional documentation.
- Ask the adjuster to explain anything you don't understand — you're entitled to clarity.
- Avoid making permanent repairs until the adjuster has assessed the damage, unless immediate action is needed to prevent further loss (in which case document everything first).
To understand exactly what happens internally at each stage of adjustment, this breakdown of the full claims process explains it step by step. You may also encounter unfamiliar terminology — the plain-English claims glossary is a useful reference to keep handy.
Step 4 — Receive a Decision and Respond
The adjuster's findings lead to a claim determination — either approval (with a settlement offer), partial approval, or denial. The insurer must explain its decision in writing, including which policy provisions apply.
If you accept the settlement, you'll typically sign a release and receive payment. If you disagree:
- Request a written explanation of the specific policy language used to reach the decision.
- Submit additional evidence or documentation that supports a higher valuation.
- Ask about the insurer's formal internal appeal process.
- Consider hiring a public adjuster (a licensed professional who advocates for policyholders) for complex or high-value disputes.
- File a complaint with your state's insurance department if you believe the denial was improper.
Whether you're filing against your own policy or navigating a situation where someone else's insurer is involved, understanding which side of a claim you're on shapes your rights and options at this stage.
Don't Sign Away Your Rights Too Quickly
Signing a settlement release closes your claim — sometimes permanently. Before you sign, make sure the amount covers your actual documented loss, including any repair costs or expenses you haven't yet fully tallied. Once you accept and sign, it's typically very difficult to reopen the claim for additional payment.
This article provides general educational information about the insurance claims process and is not legal or financial advice. Policy terms, coverage, and procedures vary by insurer and state. Always review your actual policy documents and consult a licensed insurance professional for guidance specific to your situation.