

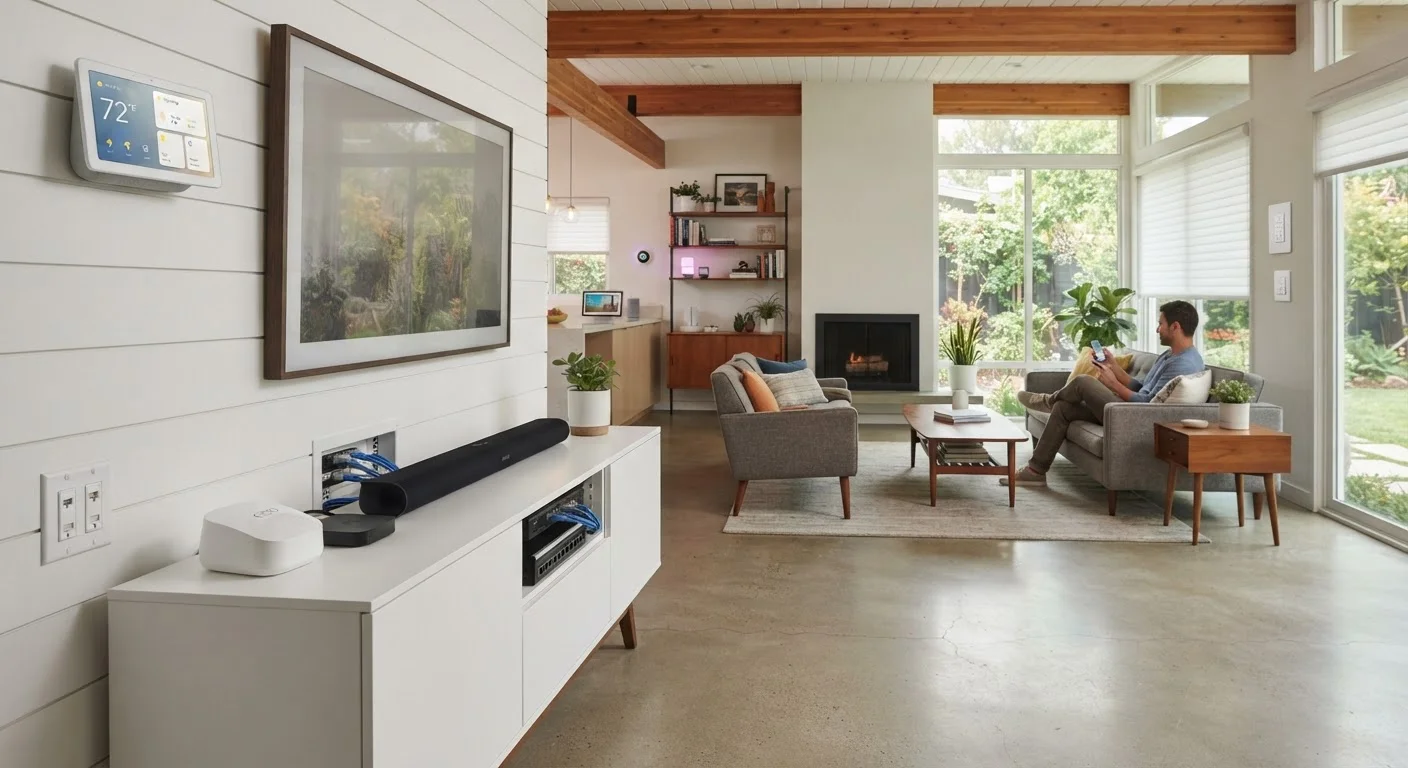
Key Takeaways
- Network infrastructure decisions are far easier to make before walls are closed or furniture is placed.
- A wired ethernet backbone improves reliability for devices that need consistent bandwidth.
- Planning smart device ecosystems in advance prevents compatibility headaches down the road.
- Power outlet placement and panel capacity directly affect how much smart tech you can run.
- Labeling every cable and port during setup saves hours of troubleshooting later.
Summary
22 items · 45–90 minutes
Why Timing Matters for Home Tech Setup
Moving into a new or freshly renovated house is one of the few windows when running a cable through a wall, adding an outlet, or repositioning a router is genuinely straightforward. Once the drywall is painted and the bookshelves are in place, those same tasks become expensive and disruptive.
This checklist is designed to walk you through the decisions that have the longest lead times and the highest cost of changing later — from structured wiring to smart device ecosystem planning. Work through it room by room before the movers arrive, or coordinate it alongside your contractor during a renovation.
If you're new to how smart devices communicate with each other, the terminology around hubs, bridges, and controllers is worth reviewing before you buy hardware. And once your infrastructure is in place, our guide on how smart home automation works can help you put it all together.
Cable tester
Verifies that ethernet runs are correctly terminated and have no broken pairs before walls are closed.
Fish tape or wire-pulling kit
Used to route cables through walls, ceilings, and conduit during pre-wire work.
Label maker
Creates durable labels for both ends of every cable run and every patch panel port.
Stud finder
Locates wall studs and any existing wiring or pipes before drilling or cutting into walls.
Password manager app
Stores device credentials, network passwords, and serial numbers in one secure, searchable location.
Floor plan software or graph paper
Helps map outlet locations, cable runs, and device placements before committing to physical installation.
Voltage tester (non-contact)
Confirms wires are de-energized before working on outlet or switch wiring — a basic electrical safety tool.
The Full Setup Checklist
Work through these groups in order — infrastructure decisions at the start will shape every device choice that follows. Items marked must are worth completing before moving in; should items can follow shortly after; nice-to-have items can be phased in over time.
Network Infrastructure
Electrical & Power Planning
Smart Device Ecosystem Planning
Entertainment & Audio Wiring
Documentation & Future-Proofing
Electrical Work Has Code and Safety Requirements
Running new circuits, upgrading your panel, or adding 240V outlets involves work that must meet local building codes and, in many jurisdictions, must be permitted and inspected. Incorrect wiring can create fire or shock hazards. Unless you're a licensed electrician or the work is explicitly within a DIY-permissible scope in your area, hire a qualified electrician for panel and circuit work.
For homes with many connected devices running simultaneously, see our structured guide on building a home network for dozens of smart devices.
After the Checklist: Next Steps
Once your wiring, network, and core smart devices are in place, the next logical steps are configuration and automation. Setting up a smart thermostat is a common early win — our walkthrough on installing a smart thermostat without a technician covers the wiring basics and app setup in plain language.
Keep a running log of every device you install — its model number, the network it's joined to, and any login credentials stored in a password manager. This documentation pays off the first time you need to troubleshoot, replace a device, or hand the home off to a new owner.
Document Everything Before Walls Close
The single most common regret among homeowners who set up tech during a renovation is failing to photograph or diagram in-wall cable runs before drywall is installed. Once the walls are closed, locating or adding cables becomes a significant and costly job. Spend 20 minutes photographing every run and sketching a simple diagram — it's insurance you'll eventually be glad you bought.
The same methodical, pre-activity planning mindset that works here applies to other areas of life. If you're rethinking routines during a move, the personal readiness checklist for starting a new fitness routine uses a similar approach.