

Key Takeaways
- Turn off power at the breaker before touching any wiring — this step is non-negotiable for safety.
- Photograph your existing thermostat wiring before disconnecting anything to preserve the configuration.
- Most homes built after the 1980s have wiring compatible with common smart thermostats.
- The companion app handles scheduling, geofencing, and smart home integration after hardware setup.
- A C-wire (common wire) is often required; adapters are widely available if yours is missing.
What you will need
What You Need Before You Start
Installing a smart thermostat is a realistic DIY task for most homeowners, but a little preparation prevents frustration. Before ordering a device, check that your heating and cooling system is compatible — most forced-air systems (gas, electric, or heat pump) work with modern smart thermostats, but older systems using high-voltage wiring (typically 110V millivolt systems found in some radiant or baseboard setups) generally do not. Your new thermostat's manufacturer will provide a compatibility checker on their website or app.
If you're new to how smart devices communicate with each other and your home hub, the Smart Home Ecosystems Explained guide covers how platforms and protocols connect — useful context before you start.
What you will need
Flathead and Phillips screwdrivers
Removing the old thermostat faceplate and securing the new mounting plate to the wall.
Non-contact voltage tester
Confirming power is fully off at the thermostat wires before handling them.
Masking tape and marker
Labeling each wire with its terminal letter before disconnecting, as a backup to your photo.
C-wire adapter (power adapter kit)
Providing continuous power to the thermostat if your system lacks a common wire.
Smartphone
Running the thermostat's companion app for configuration, scheduling, and integration setup.
Step-by-Step Installation
Follow these steps carefully and methodically. The physical installation typically takes 30–60 minutes; app configuration adds another 15–30 minutes depending on your household's preferences.
Turn Off Power at the Breaker
Locate the circuit breaker controlling your HVAC system and switch it off. Return to the thermostat and use a non-contact voltage tester near the wires to confirm there is no live current. Do not skip this step even if the old thermostat display goes dark when you flip the breaker — some systems have multiple circuits.
Document Your Existing Wiring
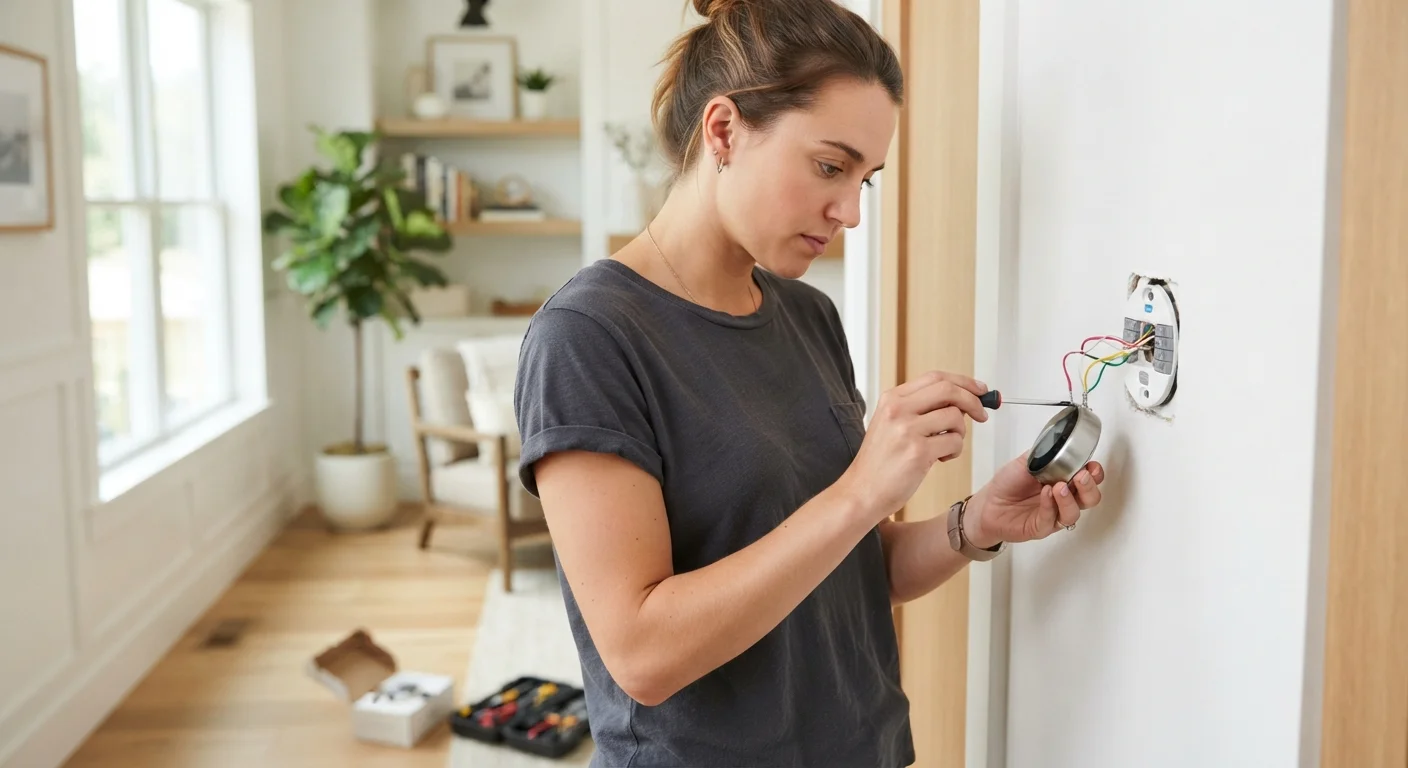
Remove the old thermostat's faceplate. You'll see a set of thin wires, each connected to a labeled terminal (common labels: R, C, G, Y, W, and variants). Take a clear photograph of the wires and their terminal labels before touching anything. Then use masking tape and a marker to label each wire with its terminal letter as a secondary reference.
Remove the Old Thermostat and Mount the New Base Plate
Disconnect the labeled wires one at a time and let them rest against the wall opening — don't let them fall back into the wall cavity. Unscrew the old mounting plate. Feed the wires through the opening in the new base plate, then level the plate against the wall using the built-in bubble level (if present) and screw it in place.
Connect Wires to the New Terminals
Using your photo and labeled tape as guides, insert each wire into the corresponding terminal on the new thermostat's base. Most modern smart thermostats use push-in or screw terminals clearly marked with the same letters as your old device. If your system has no C-wire, consult your new thermostat's manual — many include an adapter kit or support an alternate power configuration.
Attach the Display and Restore Power
Snap or slide the thermostat display unit onto the base plate as directed by the manufacturer. Return to the breaker panel and restore power. The thermostat display should illuminate within a few seconds. If it doesn't, double-check that all wires are firmly seated in their terminals and that the breaker is fully engaged.
Connect to Wi-Fi and Complete App Setup
Download the manufacturer's companion app on your smartphone. Follow the in-app pairing instructions — typically involving selecting your thermostat model, connecting via Bluetooth or a temporary Wi-Fi network, then transferring your home Wi-Fi credentials to the device. Once connected, run a quick heating or cooling test from the app to confirm the system responds correctly.
High-Voltage Systems Require a Professional
If your existing thermostat wiring uses thick wires connected to 110V or 240V terminals — common in electric baseboard heaters and some radiant systems — do not attempt a DIY installation. These systems require a licensed electrician. Smart thermostats designed for standard low-voltage (24V) HVAC systems are not compatible and using them incorrectly creates a fire and safety hazard.
Configuring the App and Smart Features
Once your thermostat powers on and connects to Wi-Fi, the real value begins in the companion app. Start by setting your preferred temperature ranges for different times of day — most apps walk you through a scheduling wizard on first launch. Enable geofencing if it's available: the thermostat adjusts automatically when your phone leaves or returns to a defined radius around your home, reducing energy use without manual effort.
For voice assistant integration, navigate to the app's integrations or "Works With" section and link your preferred assistant account. If you use a broader home automation setup, see A First-Timer's Walkthrough of Smart Home Automation for guidance on setting up routines and device groupings effectively.
Homes with many connected devices may benefit from a dedicated IoT network segment — the guide to setting up a home network for smart devices explains how to do this without disrupting existing connections.
Use Energy Reports to Fine-Tune Settings
Most smart thermostat apps generate monthly energy reports showing how long your system ran and at what temperatures. Review these after the first full billing cycle to identify patterns — small schedule adjustments based on actual usage often yield noticeable efficiency gains over time.