

Key Takeaways
- Automated transfers move money to savings before you can spend it, removing willpower as a variable.
- Aligning transfer timing with your payday is the single most effective setup decision.
- You need a defined savings goal before automation can work consistently.
- Starting small and increasing the amount gradually is more sustainable than large one-time commitments.
- Regular check-ins — quarterly at minimum — keep your automation calibrated to your real financial situation.
What you will need
Why Automation Removes the Willpower Problem
Saving consistently is less a discipline problem than a system problem. When you rely on manually moving money each month, any competing expense, distraction, or moment of doubt can interrupt the process. Automation sidesteps this entirely by treating savings as a non-negotiable line item that moves before you make spending decisions — a principle sometimes called pay yourself first.
Research in behavioral economics consistently shows that default behaviors are sticky: people tend to continue whatever is set up automatically. Applying that insight to savings means the effort required is front-loaded into the setup, not repeated every month. For a broader look at how this fits into building consistent saving habits, it's worth understanding that automation is one component of a larger framework, not a standalone fix.
It's also worth naming what automation doesn't do. It doesn't compensate for a spending plan that doesn't have room for savings, and it doesn't choose the right goal for you. Those decisions still require your attention — automation simply executes them reliably once you've made them. If you're also working on a broader budget, the principles in budgeting basics apply directly here.
Automation Works Best With a Clear Goal
Setting up a recurring transfer without knowing what you're saving for makes it easier to raid the account later. Before automating, define a specific target amount and purpose. See our guide to setting your first real savings goal for a step-by-step approach to turning vague intentions into trackable targets.
What You'll Need Before You Begin
The setup process is straightforward, but a few things need to be in place first. Review the prerequisites and tools below before moving to the steps.
What you will need
Online or Mobile Banking Portal
Used to set up, schedule, and manage recurring transfers between accounts.
Separate Savings Account
Receives automated transfers and keeps saved funds separate from everyday spending money.
Budgeting Worksheet or App
Helps you calculate a sustainable transfer amount based on monthly income and fixed expenses.
Round Up or Percentage-Based Rules Help
If a fixed dollar amount feels arbitrary, try saving a fixed percentage of each paycheck instead — for example, 5% or 10%. This scales naturally with income changes. Some bank apps also offer round-up features that transfer the spare change from every debit purchase into savings, which can supplement your primary automated transfer.
Setting Up Your Automated Savings
Follow each step in order. The entire process typically takes under an hour, and most of that time is spent on the decision in Step 1 — the bank steps themselves are quick.
Define your savings target and monthly contribution
Automation without direction tends to stall. Before touching any bank settings, settle on two numbers: your total goal amount and the monthly contribution required to reach it within your chosen timeframe. Divide the goal amount by the number of months available — that's your minimum monthly transfer figure.
If your numbers don't work within your income, adjust either the goal timeline or the target amount. Building a savings framework that fits your situation can help you find the right balance.
Open or designate a dedicated savings account
Keep savings in a separate account from the one you use for daily spending. When funds are mixed in one account, the line between "available to spend" and "saved" blurs. A distinct account — ideally without a debit card attached — adds a practical barrier that reduces impulsive withdrawals.
You can use a savings account at your existing bank for convenience, or open one at a different institution. Both approaches work; the more important factor is that the account is earmarked exclusively for your goal.
Log in to your bank and locate the transfer or automatic savings feature
Most banks and credit unions offer recurring internal transfers through their online portal or mobile app. Look for labels such as Transfers, Automatic Savings, or Scheduled Payments in the navigation menu. If you're moving money to an account at a different institution, you'll use an external transfer option, which may require a brief verification step (usually two small test deposits) before the first transfer can run.
Set the transfer amount, frequency, and start date
Enter the dollar amount you calculated in Step 1. Choose a frequency — weekly, biweekly, or monthly — that matches your pay schedule as closely as possible. Setting the transfer date one to two days after your expected payday ensures the money is in your account before the transfer fires.
If you're uncertain about a sustainable amount, start conservatively. A transfer you can maintain is more valuable than a larger one you cancel after two months. You can always increase it later.
Confirm the transfer and verify the first transaction
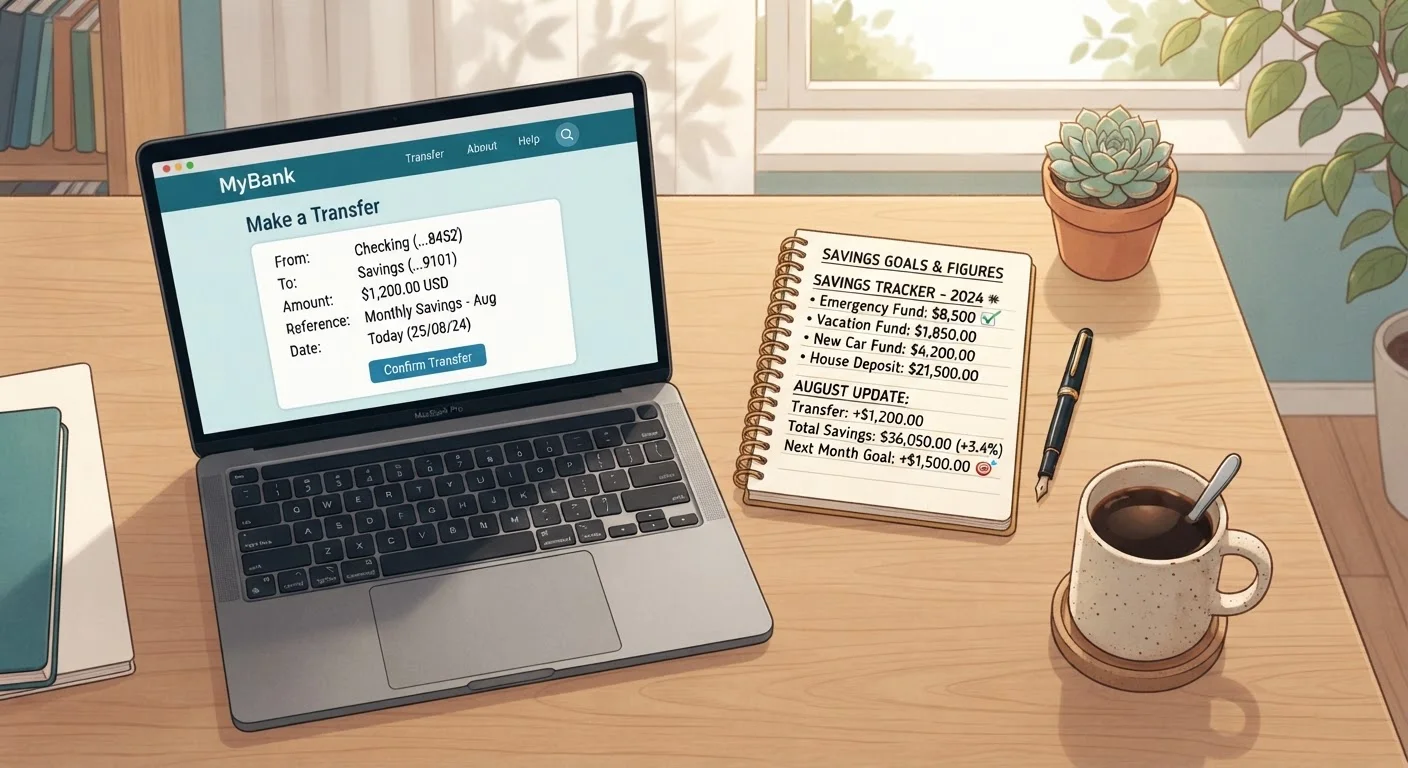
Save or submit your settings, then note the date of the first scheduled transfer. Check both accounts on that date to confirm the debit from checking and the credit to savings processed correctly. Catching a setup error early — wrong account number, wrong amount — prevents weeks of lost progress.
Schedule a quarterly review to adjust the automation
Your income, expenses, and goals change over time. Every three months, review whether the transfer amount is still appropriate. If you received a raise, consider increasing the transfer proportionally. If you faced unexpected expenses, it's reasonable to temporarily reduce the amount rather than cancel it entirely. Keeping the automation active — even at a reduced rate — preserves the habit.
Pairing automation with regular progress tracking helps maintain motivation. Our article on tracking progress toward a savings goal covers practical ways to measure momentum without losing steam.
Keep an Overdraft Buffer in Your Checking Account
Automated transfers pull funds on a scheduled date regardless of your balance. If your checking account runs low before the transfer fires, you may incur overdraft fees. Always maintain a small buffer — typically one to two weeks of fixed expenses — to absorb the transfer without issue.
This article is for general informational purposes only and does not constitute personalised financial advice. Your financial situation is unique; consider consulting a qualified financial adviser before making significant changes to your savings or banking arrangements.